Within this post, I’d like to give you a short introduction for using CodeShip to automatically build, test and deploy your web projects.

CodeShip is a service which is free for a single concurrent build with 100 builds per month. So there is no cost for giving it a try, if you’re interested in bigger plans with more concurrent builds or if you (and your team) are more frequently pushing commits to either GitHub or BitBucket you can choose one of the available paid plans from here.
Supported Languages
CodeShip supports the following programming languages.
- NodeJS
- Ruby & Ruby on Rails
- Go
- Python
- Java
- PHP
With all those supported languages, a broad range of web projects can be built and tested using CodeShip.
It also ships with support for a lot of well-known database systems like (PostgreSQL, MongoDB or Redis to name a few of them)
Throughout this post, I’ll show a simple example using Node.js as the serverside language for my website.
Deployment Targets
CodeShip can automatically deploy your project to
- Heroku (which I’ll use for my demo)
- Amazon AWS
- Google App Engine
- Engine Yard
- nodejitsu
Besides those well-known cloud providers, there is also support for other platforms, or you could hook up a custom script to deploy to the cloud of your choice.
Pre Requirements
I’ll not explain how to get all the pre-requirements up and running; I think all those services should belong to a developers toolbelt in these days.
- GitHub or bitbucket account
- heroku account
CodeShip itself is offering OAuth authentication to sign up quickly.
The sample App
To keep things simple, I’ll demonstrate how to configure and use CodeShip with a simple website. All the source code is available on GitHub right here. When browsing the repo, you’ll realize that there is nothing special. It’s just a simple HTML website being served by an Express server.
The Procfile is required for Heroku, it tells how many web dynos Heroku should use for making your app available.
Creating a CodeShip project
CodeShip’s interface is pretty simple and self-explaining. After signing up, you’ve to select a GitHub or bitbucket repo which will be used as a trigger for all the automation.
Right after selecting the project, test commands can be specified. For this simple sample, I haven’t configured any actual tests. Instead, I’d specified a default grunt task which is responsible for minifying my javascript file.
Using things like grunt is smooth, but you’ve to ensure that grunt-cli (which has to be installed globally) is existing on your virtual build agent.
The setup area in the following screen can be used to configure your Spin-Up-Script. See the last line in the setup text area where I’m defining npm install grunt-cli
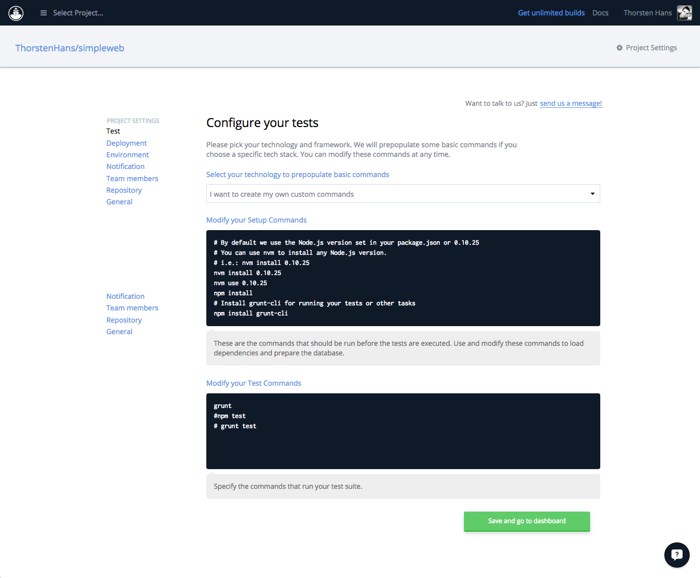 The second script area is responsible for executing your tests or any other command that should run right before your tests will be executed.
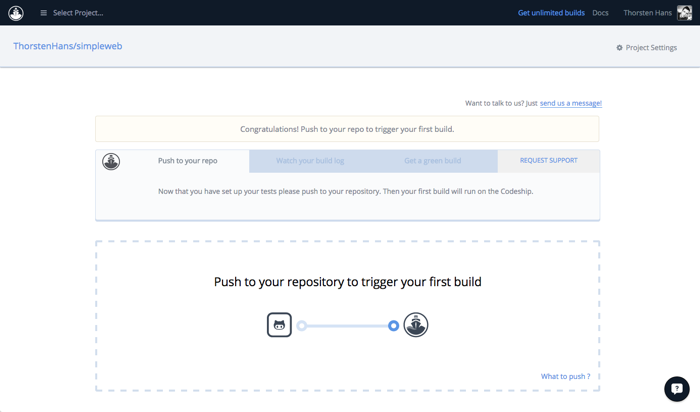
After saving you test commands, you’ll be redirected to the dashboard which should look like this
Configuring Deployment
Configuring the automated deployment is as simple as configuring tests. Before looking into the deployment configuration, you’ve to ensure that your cloud-app is created. As mentioned during the introduction, I’ll use Heroku for this sample. Login to Heroku and create a new app provide a name for your app and choose a region.
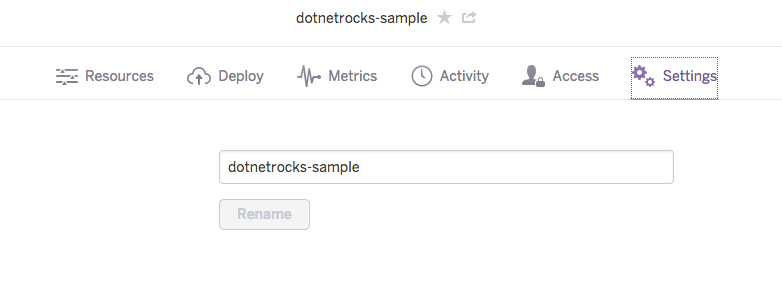
I’ve created an app called dotnetrocks-sample, Heroku apps are created within seconds, and you should be redirected to your app’s configuration page.
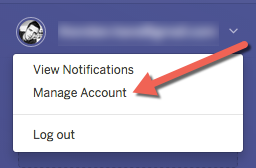
To get CodeShip’s deployment up and running you also need an API Key, this key is related to your Heroku user and can be found on the Manage your Account Page
Back in CodeShip’s interface, open the Deployment configuration from the Actions Menu
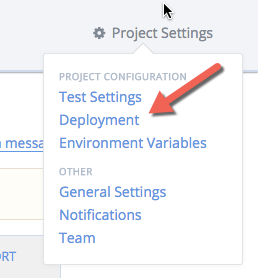
From here it’s simple to configure Heroku, select the Heroku tile from the list of available targets and put in your App’s Name and the API Key you’ve grabbed from your Heroku Account.
Important Notes
Before pushing your commits to the selected GitHub repo, you should check the following things to get everything working.
- An existing PROCFILE (see PROCFILE documentation)
- A exitsing package.json (see package.json)
- Ensure that your Node Engine is set
- configure scripts
- list all dependencies
Give it a try
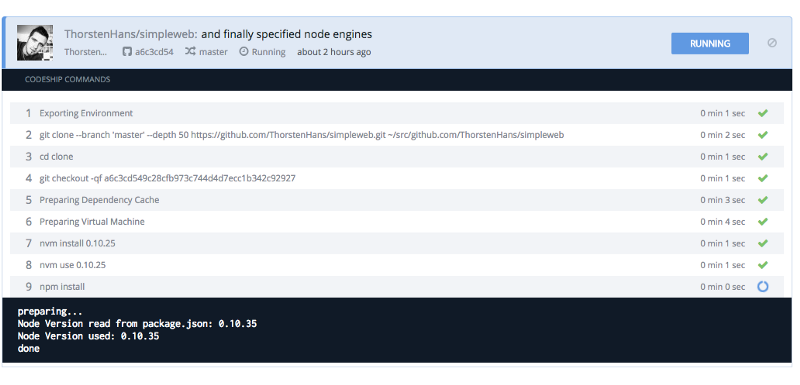
Make some changes to your project and push them to GitHub. CodeShip will start to build, test and deploy your changes immediately and you can watch the progress from your dashboard as shown here
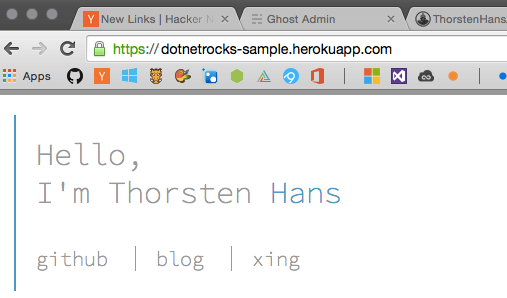
The final result should be available on Heroku within a few seconds, and it should look like this
The value of CodeShip is impressive, besides automated builds and tests (which are also offered by other platforms) you can quickly deploy your projects continuously. Especially for fast growing web projects, it’s critical to see how changes behave in your development- or staging-environment.