External-DNS with Azure Kubernetes Service and Azure DNS
This article guides you through the process of configuring External-DNS with Azure Kubernetes Service (AKS) and Azure DNS. By deploying and configuring External-DNS and necessary Azure services correctly, you can ensure proper routing from your custom domain into Kubernetes. Before we dive into actually configuring External-DNS and wiring everything up, let’s briefly revisit some core concepts.
Cloud platform automation with managed Kubernetes clusters🔗
Managed Kubernetes clusters like Azure Kubernetes Service (AKS) automate the surrounding cloud platform using their custom cloud controller manager implementation as part of their Kubernetes distribution. For example, this makes exposing a service of type LoadBalancer frictionless. AKS will automatically acquire a public IP address and provision an instance of Azure Load Balancer (LNB) to route ingress traffic into the Kubernetes cluster.
However, most users prefer accessing real-world applications using a domain name instead of an IP address. At this point, Domain Name System (DNS) comes to the table.
What is Domain Name System (DNS)🔗
DNS is responsible for translating domain names (e.g., www.domain.com) into IP addresses. You can think of DNS as a phone book. In a nutshell, internet-connected devices consult a DNS server to find the actual IP address for domains requested by the user (or by the system). There are some levels of DNS caches involved before you reach out to a public DNS, but that’s not the scope of this article.
Scenario🔗
For the scope of this article, we will configure External-DNS to automatically manage DNS entries in Azure DNS and route traffic to the public IP of an Ingress controller. Requests hitting the ingress controller are forwarded to the downstream services using regular Ingress rules deployed to Kubernetes.
Requirements🔗
To follow the instructions in this article, you must have access to an Azure subscription. If you don’t have an Azure subscription yet, consider creating an Azure subscription here or reach out to your IT department. Access to a domain and authorization to manage its name servers. Additionally, we’ll use the following software locally:
- Azure CLI - To provision and configure necessary services in Azure
- kubectl - To interact with AKS
- Helm - To provision several components to AKS
- jq - Used to extract certain information from Azure CLI JSON responses
- curl - to issue HTTP requests
If you haven’t used Azure CLI yet, consider reading this article to get a brief introduction. If you’re new to Helm, consider reading my post “Getting started with Helm 3”.
Infrastructure Deployment🔗
Infrastructure deployment is not the main scope of this article. That’s why I’ve quickly created the following script. It relies on Azure CLI to spin up everything we need. All essential configuration values are represented as variables at the beginning of the script. Those variables will be reused in upcoming snippets. These variables let you quickly customize the script to fit your needs:
# variables
DOMAIN_NAME="thns.dev"

# you can use the following command to get subscription- and tenant-id
# az account list \
#    --query "[].{Name:name,TenantID:tenantId,SubscriptionID:id}" \
#    -o table

AZ_SUBSCRIPTION_ID= #PROVIDE DESIRED AZURE SUBSCRIPTION ID
AZ_TENANT_ID= #PROVIDE YOUR AZURE TENANT ID
AZ_REGION=germanywestcentral
AZ_AKS_GROUP=rg-externaldns-aks
AZ_DNS_GROUP=rg-externaldns
AZ_AKS_NAME=aks-external-dns
AKS_NODE_COUNT=1
AZ_SP_NAME=sp-external-dns-sample


# login to Azure
az login

# set desired Azure subscription
az account set --subscription $AZ_SUBSCRIPTION_ID

# Create Azure Resource Groups
AKS_RG_ID=$(az group create -n $AZ_AKS_GROUP \
    -l $AZ_REGION \
    --query id -o tsv
)

DNS_RG_ID=$(az group create -n $AZ_DNS_GROUP \
    -l $AZ_REGION \
    --query id -o tsv
)

# Provision AKS
az aks create -n $AZ_AKS_NAME \
    -g $AZ_AKS_GROUP \
    -l $AZ_REGION \
    -c $AKS_NODE_COUNT \
    --generate-ssh-keys

# Download credentials for AKS
az aks get-credentials -n aks-external-dns \
    -g $AZ_AKS_GROUP

# Create Azure DNS
DNS_ID=$(az network dns zone create -n $DOMAIN_NAME \
    -g $AZ_DNS_GROUP \
    --query id -o tsv
)
Bring NGINX Ingress to AKS🔗
To route traffic from the internet into AKS, we use NGINX Ingress (ingress). We can deploy ingress using Helm. Although ingress provides many configuration values that can be used to customize your particular ingress deployment, we’ll keep things simple here. The following script adds the necessary repository to Helm, updates the Helm repositories, creates the desired namespace in Kubernetes, and deploys the ingress controller:
# Add repository to Helm
helm repo add nginx https://kubernetes.github.io/ingress-nginx

# Update Helm repositories
helm repo update

# Create Kubernetes namespace
kubectl create namespace ingress

# Deploy ingress to Kubernetes
helm install nginx-ingress nginx/ingress-nginx \
    --wait \
    --namespace ingress
We used the --wait flag as part of helm install. This flag instructs Helm to wait until the release reports back if installing ingress was successful or not. You can check the public IP address assigned to the ingress controller using kubectl get svc -n ingress.
Configure Domain Nameserver settings🔗
Your custom domain must be configured correctly and point to the name servers provided by Azure DNS. This step differs based on where you manage your domains. Find the name server configuration for your domain. You can use Azure CLI to get the actual name servers as shown here:
# Query nameservers from Azure DNS
az network dns zone show -n $DOMAIN_NAME \
    -g $AZ_DNS_GROUP \
    --query nameServers -o tsv

# ns1-35.azure-dns.com.
# ns2-35.azure-dns.net.
# ns3-35.azure-dns.org.
# ns4-35.azure-dns.info.
Prepare Azure DNS integration🔗
Before we can deploy External-DNS into our AKS cluster, a technical user account is required. External-DNS will leverage this account to call into Azure’s APIs and manage Azure DNS. At this point, there are two ways of achieving this:
- Using a dedicated Service Principal (SP)
- Using a Managed Service Identity (MSI)
For the scope of this article, we’ll proceed by creating a dedicated SP. Use Azure CLI to create a new SP as shown here:
# Create a new Service Principal
SP_CFG=$(az ad sp create-for-rbac -n $AZ_SP_NAME -o json)

# Extract essential information

SP_CLIENT_ID=$(echo $SP_CFG | jq -e -r 'select(.appId != null) | .appId')
SP_CLIENT_SECRET=$(echo $SP_CFG | jq -e -r 'select(.password != null) | .password')
SP_SUBSCRIPTIONID=$(az account show --query id -o tsv)
SP_TENANTID=$(echo $SP_CFG | jq -e -r 'select(.tenant != null) | .tenant')
Having the SP created, we’ve to create role assignments for this account. To mutate Azure DNS, the role DNS Zone Contributor is required on the scope of the Azure DNS resource previously provisioned. Additionally, the Reader permission is needed on the Azure Resource Group that hosts the Azure DNS service.
# Create DNS Zone Contributor role assignment
az role assignment create --assignee $SP_CLIENT_ID \
    --role "DNS Zone Contributor" \
    --scope $DNS_ID

# Create Reader role assignment
az role assignment create --assignee $SP_CLIENT_ID \
    --role "Reader" \
    --scope $DNS_RG_ID
Now that we have everything in place to configure External-DNS, it’s time to deploy it.
Deploy External-DNS to AKS🔗
Deploying External-DNS to Kubernetes can be done via Helm. Although there are other ways to deploy External-DNS, we will stick with Helm to unify how components are deployed to our cluster.
Caution: There is a limitation in Helm regarding values being provided via --set. Helm can’t deal with commas (,) as part of a value in --set. Before invoking helm install, consider checking if your SP_CLIENT_SECRET contains a comma (echo $SP_CLIENT_SECRET). If so, update the SP_CLIENT_SECRET variable and replace , with \,.
The following script shows all necessary steps to deploy External-DNS. Configuration data gathered previously is provided by using the environment variables introduced previously:
# Add Helm repository
helm repo add bitnami https://charts.bitnami.com/bitnami

# Update repositories
helm repo update

# Create Kubernetes namespace for External-DNS
kubectl create namespace externaldns

# Create tailored External-DNS deployment

helm install external-dns bitnami/external-dns \
    --wait \
    --namespace externaldns \
    --set txtOwnerId=$AZ_AKS_NAME \
    --set provider=azure \
    --set azure.resourceGroup=$AZ_DNS_GROUP \
    --set txtOwnerId=$AZ_AKS_NAME \
    --set azure.tenantId=$AZ_TENANT_ID \
    --set azure.subscriptionId=$AZ_SUBSCRIPTION_ID \
    --set azure.aadClientId=$SP_CLIENT_ID \
    --set azure.aadClientSecret="$SP_CLIENT_SECRET" \
    --set azure.cloud=AzurePublicCloud \
    --set policy=sync \
    --set domainFilters={$DOMAIN_NAME}
When Helm has finished deploying the release, you can use kubectl get all -n externaldns to get a fundamental overview of your External-DNS deployment. Grab the actual name of the pod from this output. It should start with external-dns- and look at the pod’s logs using kubectl logs -n externaldns external-dns-your-custom-id -f. You should quickly spot something like All records are already up to date.
Deploy a sample application🔗
We will deploy a simple webserver to AKS for demonstration purposes, using the nginx:alpine image from the public Docker hub. The sample application consists of a single Kubernetes pod, a service, and the necessary rule for our ingress controller to make it accessible from the outside. You can either use the following YAML, or apply it directly to your cluster using the URL to the GitHub gist (see the second snippet).
apiVersion: v1
kind: Pod
metadata:
  name: webserver
  labels:
    app: nginx
    name: sample
spec:
  containers:
  - name: main
    image: nginx:alpine
    resources:
      limits:
        memory: "64Mi"
        cpu: "200m"
      requests:
        memory: "48Mi"
        cpu: "100m"
    ports:
      - containerPort: 80
---
apiVersion: v1
kind: Service
metadata:
  name: web
spec:
  selector:
    app: nginx
    name: sample
  ports:
  - port: 8080
    targetPort: 80
---
apiVersion: networking.k8s.io/v1
kind: Ingress
metadata:
  name: sample-rule
  annotations:
    kubernetes.io/ingress.class: "nginx"
spec:
  rules:
    - host: "sample.thns.dev"
      http:
        paths:
          - path: /
            pathType: "Prefix"
            backend:
              service:
                name: web
                port:
                  number: 8080
Deploy the application with kubectl:
# deploy the locally saved yaml
kubectl apply -f sample-app.yaml

# or using the gist url
kubectl apply -f https://gist.githubusercontent.com/ThorstenHans/7c376842bbeebe0a5b6dd4f3c17060b3/raw/5da1d015978de3c3892c238e530689510799f805/sample-app.yml
Verify Azure DNS integration🔗
Having everything in place, it is time to test the integration of Azure DNS. Before doing an end-to-end test, let’s look at the Azure DNS to verify that DNS entries are provisioned for the desired subdomain (sample.thns.dev in my case). Again, we use Azure CLI to query the list of DNS entries quickly. However, you can also consult Azure Portal to spot DNS entries.
It could take a couple of seconds until the following command gives you the desired A record. By default, External-DNS runs every minute (1m). You can customize the interval by setting the interval property and upgrading the actual release using helm upgrade.
# List A records from Azure DNS
az network dns record-set a list -z $DOMAIN_NAME \
    -g $AZ_DNS_GROUP \
    --query '[].{Name:name,Target:aRecords[0].ipv4Address}' \
    -o table

# Name          Target
# ------------  -----------
# sample        20.52.210.86
Test traffic routing🔗
It’s time to hit the sub-domain. Unfortunately, you will not be able to hit the URL using a modern browser. Modern browsers prevent you from accessing non-HTTPS content (which is a good thing). However, we can use curl to check if we get a successful response when hitting the custom domain. Issue a get request with curl http://sample.thns.dev (obviously, use your custom domain here). If everything works as expected, you should get a response like shown in this picture:
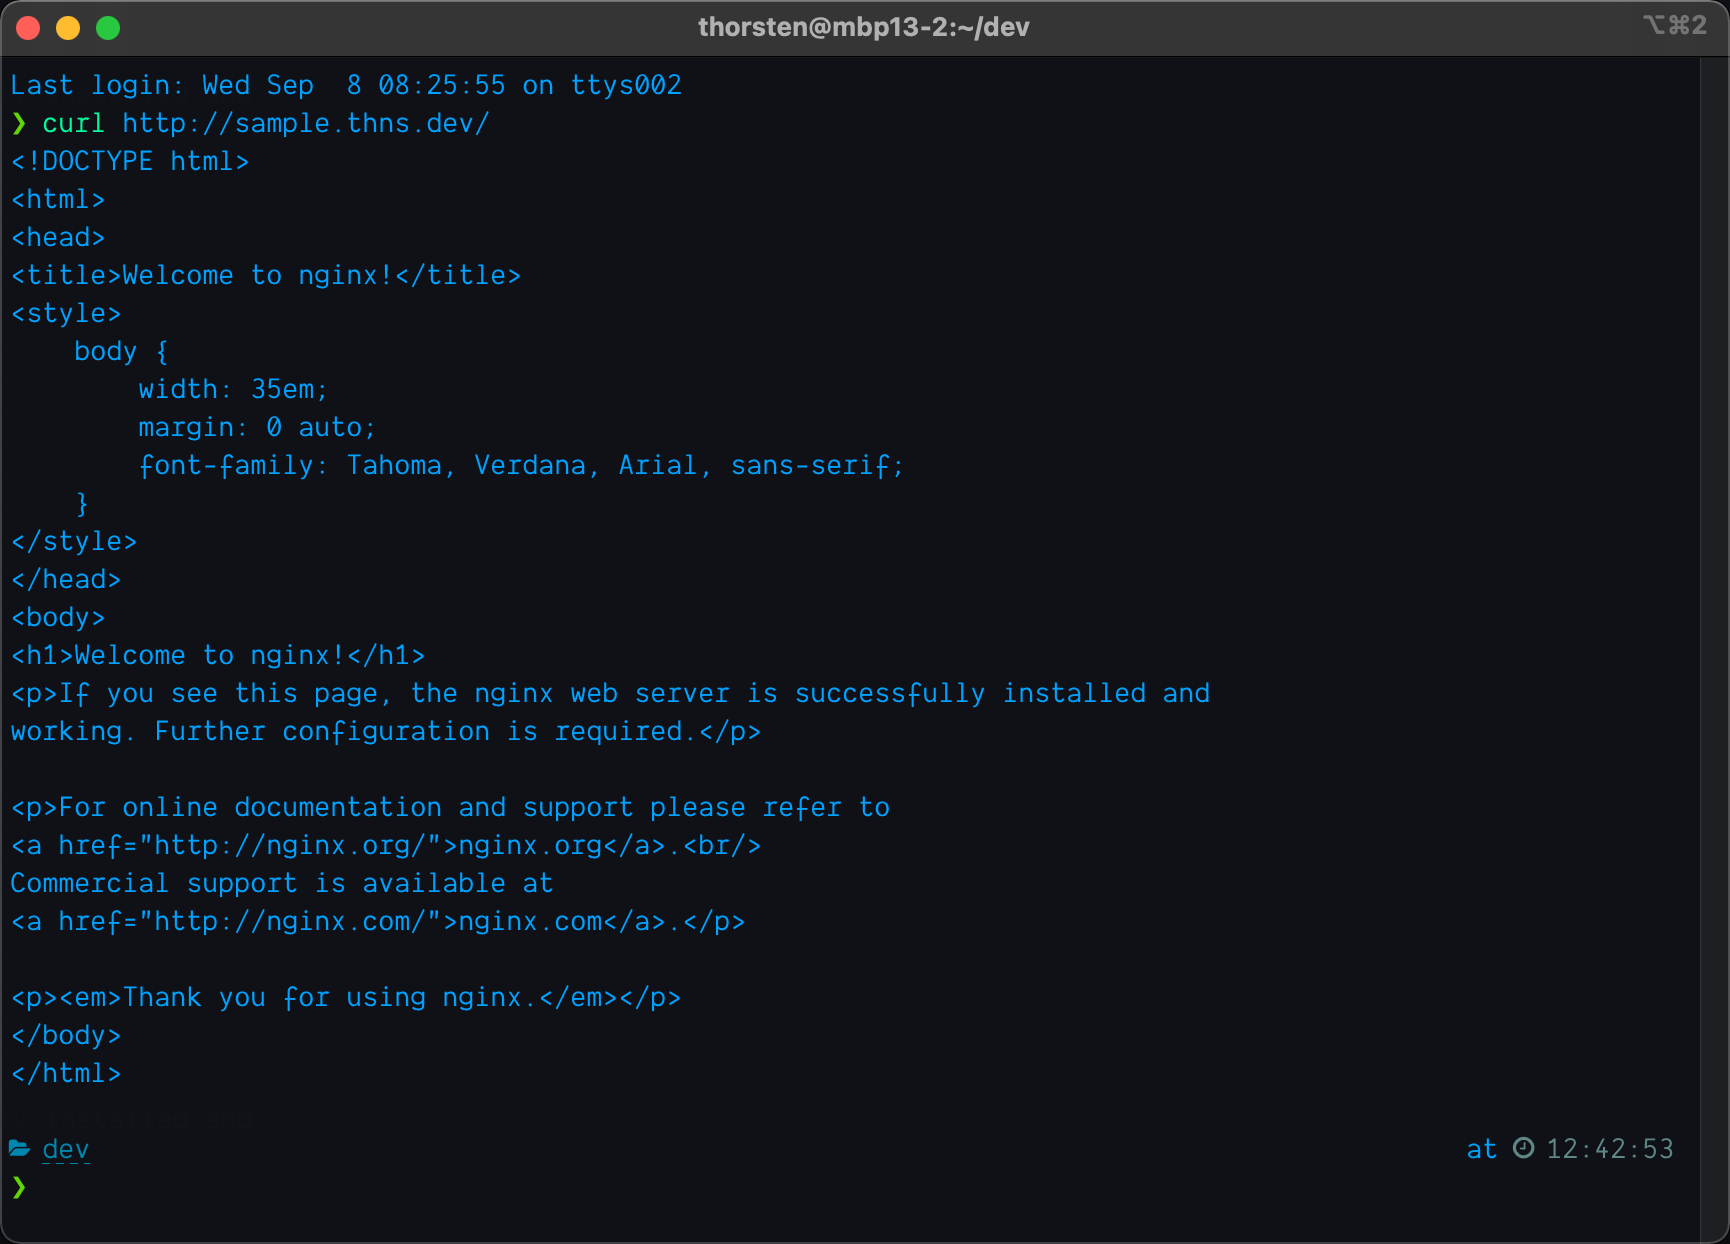
HTTP response - after a successful integration of External-DNS with Azure DNS
Speaking of HTTPS: You can add Let’s Encrypt certificate to your custom domains by adding cert-manager to AKS. Read my article at thinktecture.com on “Acquire SSL certificates in Kubernetes from Let’s Encrypt with cert-manager” to get detailed instructions on how to deploy and configure cert-manager.
What you have achieved🔗
By finding your way through this guide, you’ve successfully achieved:
- ✅ Provisioning AKS and Azure DNS
- ✅ Configured custom authorization rules for the Service Principal to manage Azure DNS
- ✅ Deployed NGINX Ingress to AKS
- ✅ Deployed External-DNS to AKS
- ✅ Verified DNS entries for sub-domains were created correctly
- ✅ Tested the integration end-to-end by deploying a sample application behind NGINX Ingress
Cleaning up🔗
If you followed this guide precisely, you end up with quite some infrastructure in your Azure subscription. The following lines of Azure CLI will remove everything we’ve provisioned as part of this article.
# remove Azure resources
az group delete -n $AZ_AKS_GROUP --yes --no-wait
az group delete -n $AZ_DNS_GROUP --yes --no-wait

# remove the service principal
az ad sp delete --id $AZ_SP_NAME
Finally, do not forget to remove the custom name server entries we added to your custom domain.
Conclusion🔗
By adding External-DNS to your instance of Azure Kubernetes Service, your DNS entries will be created managed automatically. Providing txtOwnerId as part of your External-DNS configuration is the key to allow multiple AKS clusters manage a single instance of Azure DNS. Bottom line, External-DNS reduces manual operations required in Azure and empowers developers to rapidly expose services.
Because External-DNS is cloud-agnostic, this approach will also work in other cloud environments such as AWS or Google Compute Cloud. You will have to provide different configuration values for the External-DNS deployment if you’re moving workloads between cloud vendors.