How to deploy Azure Container Apps with Bicep
Although Azure Portal and Azure CLI provide a decent experience to deploy Azure Container Apps, I prefer using Infrastructure as Code (IaC) to deploy and manage my cloud infrastructure. That said, this post guides you through the process of deploying Azure Container Apps using Bicep.
!Note that container apps are moving namespace. In March 2022, ACA will shift from the
Microsoft.Webnamespace toMicrosoft.Apps. Everything described here should still work, but you have to change the namespace!
Prerequisites🔗
Ensure you have the following prerequisites in place to follow this guide:
- Access to an Azure Subscription
- An instance of Azure Container Registry (ACR) along with credentials to pull images from there
- Azure CLI installed on your location machine
- An editor installed on your machine, I highly recommend VisualStudio Code because it has the best support for Bicep
What is Azure Container Apps🔗
Azure Container Apps is a serverless runtime for containerized workloads. Microsoft announced the public preview of Azure Container Apps on the 2nd of November 2021 during Microsoft Ignite. If you want to learn more about Azure Container Apps, read “An Introduction to Azure Container Apps”.
What is Bicep🔗
Bicep (sometimes referred to as Project Bicep) is a domain-specific language (DSL) for Infrastructure as Code created by Microsoft to simplify Azure resource management. Bicep code is compiled to Azure ARM templates.
If you want to dive into Bicep before, check out this excellent introduction written by my friend Tobias Zimmergren. Are you using Terraform? No problem, read my comparison of Terraform and Bicep to spot the differences.
Hands-On🔗
Alright, let’s get started and deploy an Azure Container App with Bicep. We’ll deploy a plain .NET Web API generated by dotnet new webapi for demonstration purposes. This gives us an unauthenticated endpoint (/weatherforecast) which we can call to verify everything works as expected.
Every Azure Container App is deployed into an environment. An Azure Container App environment takes all logs generated by its containers and sends them to a dedicated Log Analytics Workspace. That said, we’ll now create all the necessary components. Before we dive into creating Bicep files, let’s quickly create a new project folder:
# create a project folder
mkdir container-app-bicep

# move into the project folder
cd container-app-bicep

# fire up VSCode
code .
Inside VisualStudio Code, verify that you have installed the Bicep extension (ms-azuretools.vscode-bicep).
Launch the Extension View from the Activitiy Bar (or just press Cmd+Shift+X). Search for Bicep and install it if necessary.
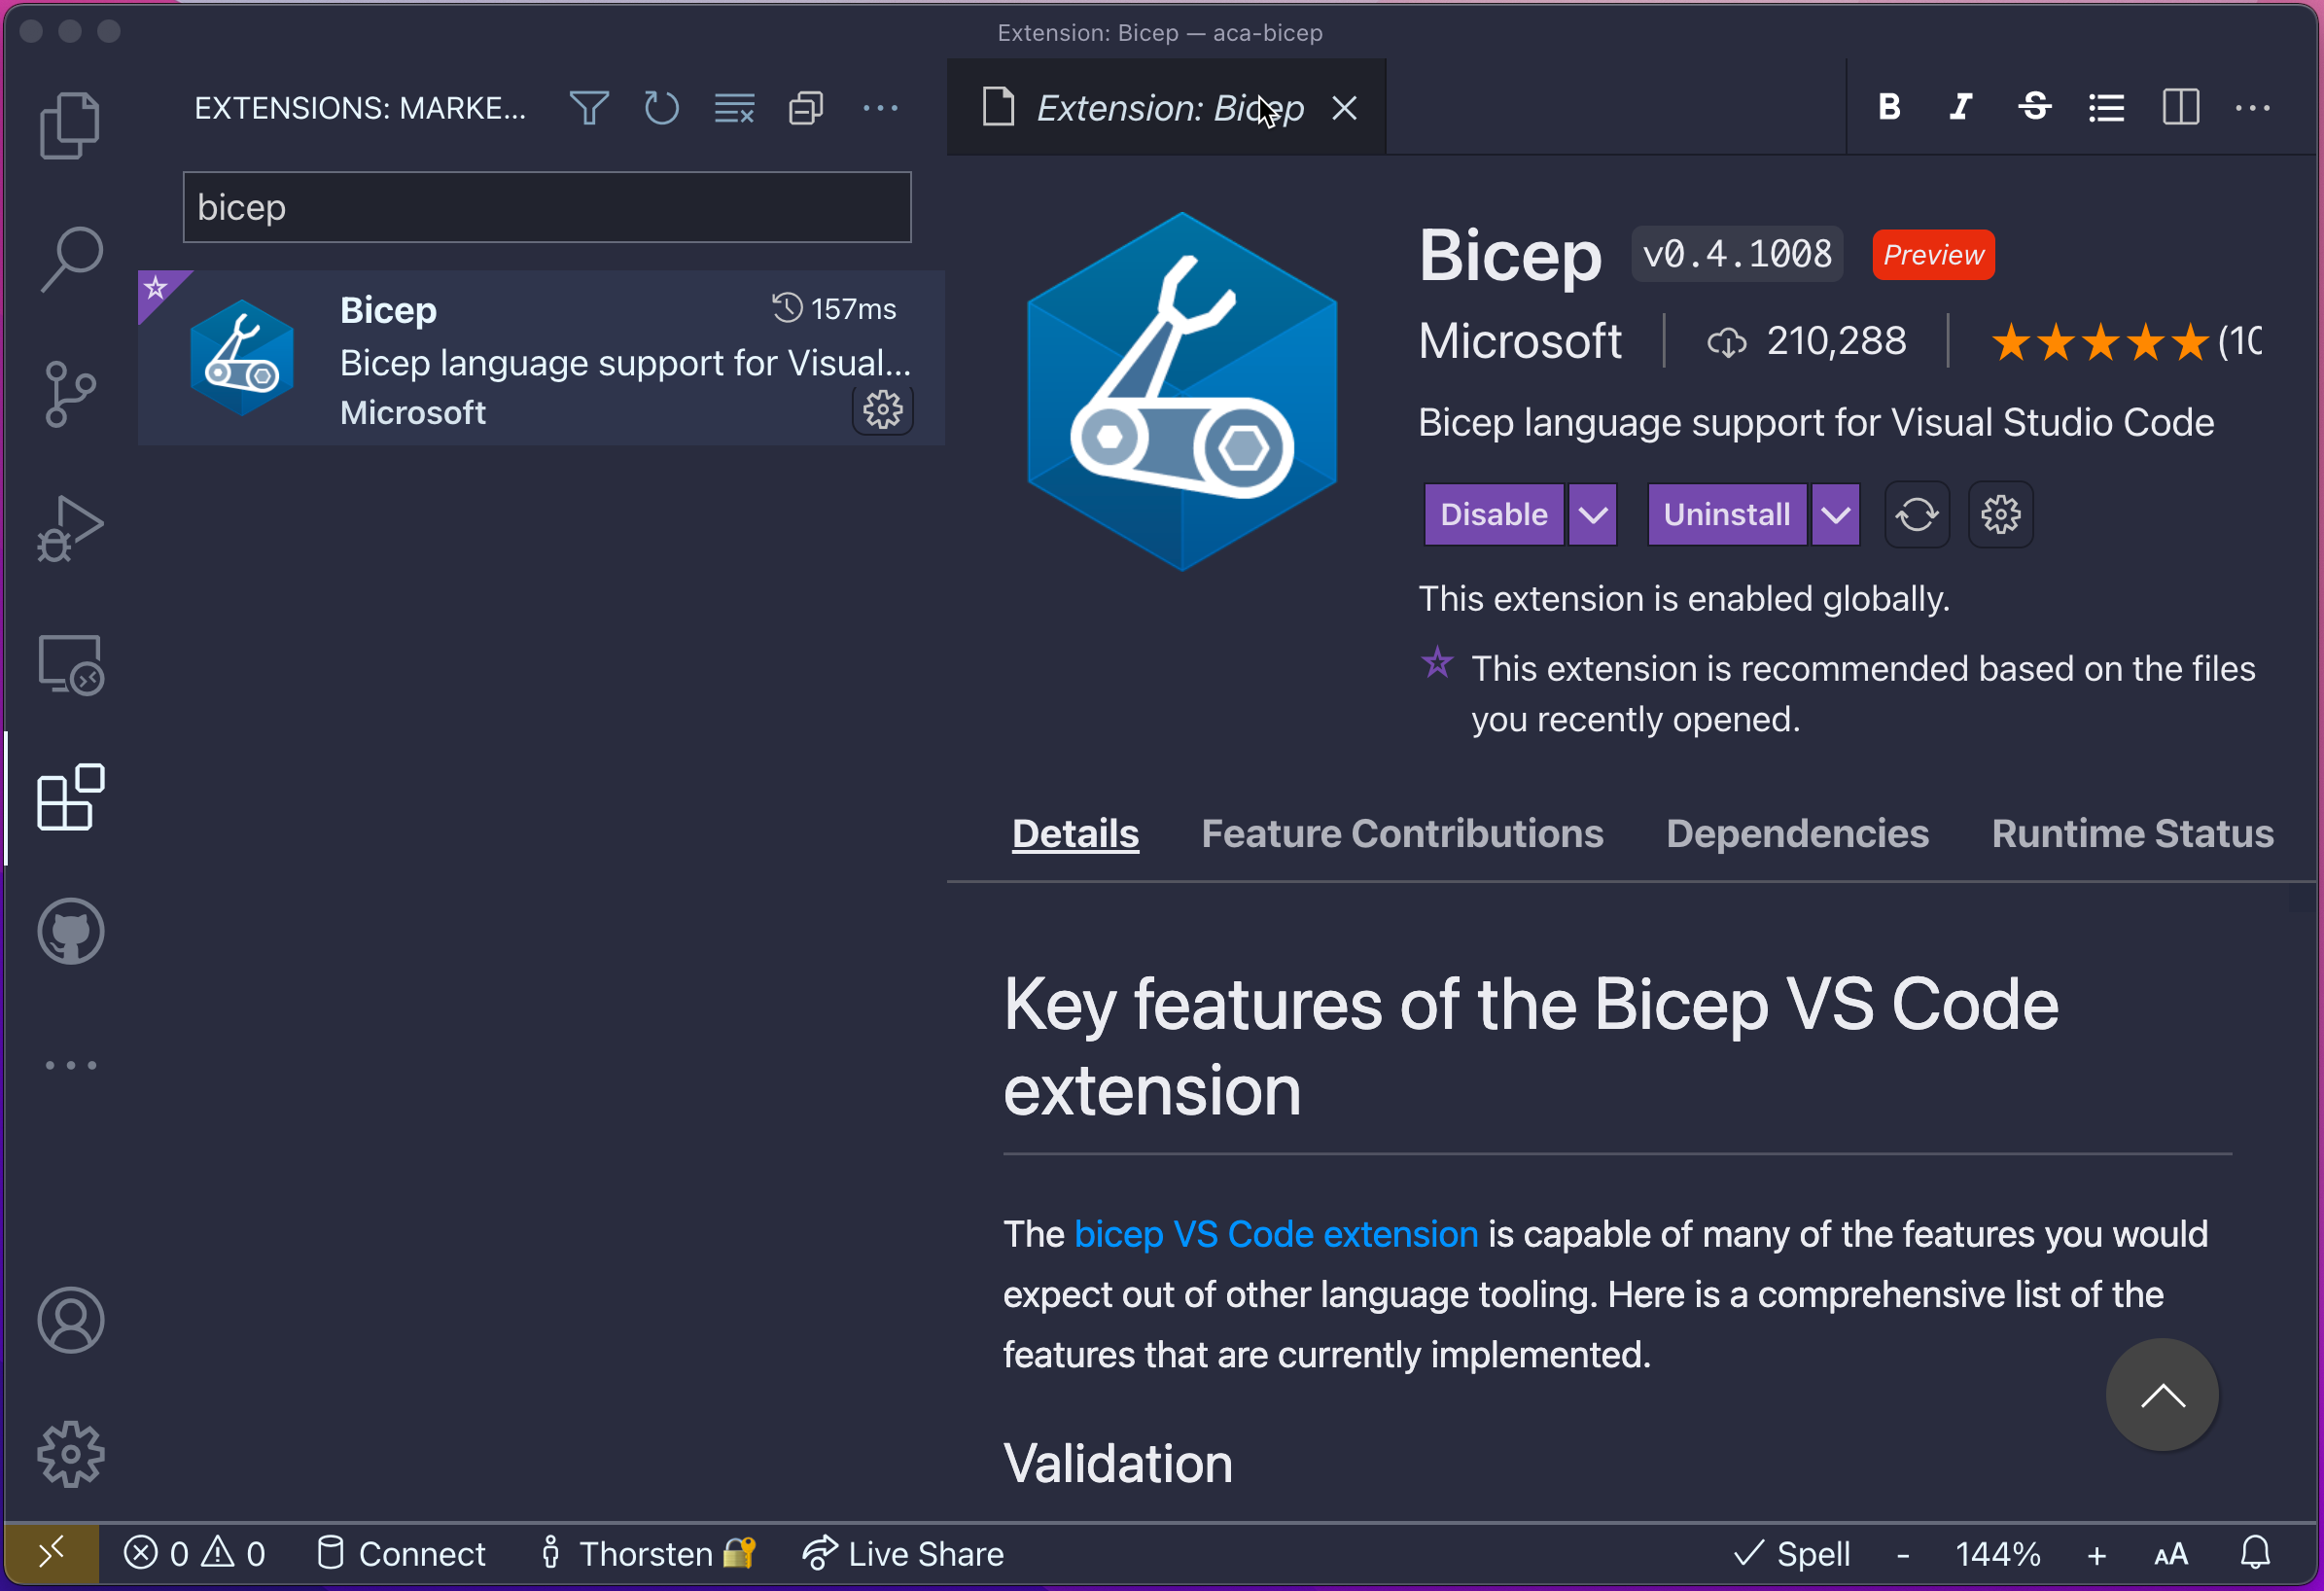
Bicep extension in VisualStudio Code
Having everything in place, we can dive into writing our Bicep modules.
Create an Azure Log Analytics Workspace with Bicep🔗
First, let’s start with an instance of Log Analytics Workspace. Create a new file, name it law.bicep, and add the following content:
param location string
param name string

resource law 'Microsoft.OperationalInsights/workspaces@2020-03-01-preview' = {
  name: name
  location: location
  properties: any({
    retentionInDays: 30
    features: {
      searchVersion: 1
    }
    sku: {
      name: 'PerGB2018'
    }
  })
}
output clientId string = law.properties.customerId
output clientSecret string = law.listKeys().primarySharedKey
This module takes two parameters (location and name), generates a Log Analytics Workspace resource law, and exposes two outputs (clientId and clientSecret).
Create an Azure Container App environment with Bicep🔗
Next, we have to create an Azure Container App environment. Again, add a new file, name it environment.bicep, and add the following content:
param name string
param location string
param lawClientId string
param lawClientSecret string

resource env 'Microsoft.Web/kubeEnvironments@2021-02-01' = {
  name: name
  location: location
  properties: {
    type: 'managed'
    internalLoadBalancerEnabled: false
    appLogsConfiguration: {
      destination: 'log-analytics'
      logAnalyticsConfiguration: {
        customerId: lawClientId
        sharedKey: lawClientSecret
      }
    }
  }
}
output id string = env.id
Again, we have several parameters that allow further precise configuration of the Azure Container App environment from outside of the actual module. At the bottom of the module, we expose the environment identifier as id.
Create an Azure Container App with Project Bicep🔗
Finally, we can create the Bicep module for the actual Azure Container App. Create a new file, call it containerapp.bicep, and add the following content:
// general Azure Container App settings
param location string
param name string
param containerAppEnvironmentId string

// Container Image ref
param containerImage string

// Networking
param useExternalIngress bool = false
param containerPort int

param registry string
param registryUsername string
@secure()
param registryPassword string

param envVars array = []

resource containerApp 'Microsoft.Web/containerApps@2021-03-01' = {
  name: name
  kind: 'containerapp'
  location: location
  properties: {
    kubeEnvironmentId: containerAppEnvironmentId
    configuration: {
      secrets: [
        {
          name: 'container-registry-password'
          value: registryPassword
        }
      ]
      registries: [
        {
          server: registry
          username: registryUsername
          passwordSecretRef: 'container-registry-password'
        }
      ]
      ingress: {
        external: useExternalIngress
        targetPort: containerPort
      }
    }
    template: {
      containers: [
        {
          image: containerImage
          name: name
          env: envVars
        }
      ]
      scale: {
        minReplicas: 0
      }
    }
  }
}

output fqdn string = containerApp.properties.configuration.ingress.fqdn
There is a lot more happening here. We’ve plenty of parameters defined at the beginning of the module. For example, take a look at the registry* parameters. Those are used to pull container images from private registries such as Azure Container Registry (ACR).
Also, take a closer look at the template property of containerApp. Here we can specify the container images that will form our Pod in Azure Container Apps, and we can provide individual scaling configurations (minReplicas: 0 here).
Finally, we expose the full qualified domain name (FQDN) as an output of the module.
Create the main module in Project Bicep🔗
Last but not least, we’ve to link all Bicep modules together. I prefer doing this in a main module. Let’s add another file, call it main.bicep and add the following content:
param location string = resourceGroup().location
param envName string = 'blog-sample'

param containerImage string
param containerPort int
param registry string
param registryUsername string

@secure()
param registryPassword string

module law 'law.bicep' = {
    name: 'log-analytics-workspace'
    params: {
      location: location
      name: 'law-${envName}'
    }
}

module containerAppEnvironment 'environment.bicep' = {
  name: 'container-app-environment'
  params: {
    name: envName
    location: location
    lawClientId:law.outputs.clientId
    lawClientSecret: law.outputs.clientSecret
  }
}

module containerApp 'containerapp.bicep' = {
  name: 'sample'
  params: {
    name: 'sample-app'
    location: location
    containerAppEnvironmentId: containerAppEnvironment.outputs.id
    containerImage: containerImage
    containerPort: containerPort
    envVars: [
        {
        name: 'ASPNETCORE_ENVIRONMENT'
        value: 'Production'
        }
    ]
    useExternalIngress: true
    registry: registry
    registryUsername: registryUsername
    registryPassword: registryPassword

  }
}
output fqdn string = containerApp.outputs.fqdn
We grab the location property from the Azure Resource Group using resourceGroup().location, which means we will execute our deployment in the scope of an existing Azure Resource Group.
Before we move on and deploy the Azure Container App, let’s quickly create a resource group that we can use as the target for our Bicep deployment:
# create a resource group
az group create -n rg-blog-sample -l northeurope
Please remember that Azure Container Apps are currently only available in northeurope and canadacentral!
Deploy the infrastructure with Azure CLI🔗
Grab credentials from your ACR instance using the az acr credential command:
# store username in $acrUser
acrUser=$(az acr credential show -n blogsample --query username -o tsv)

# store password in $acrPassword
acrPassword=$(az acr credential show -n blogsample --query "passwords[0].value" -o tsv)
Finally, we can use az deployment group create to start the deployment:
az deployment group create -n container-app \
  -g rg-blog-sample \
  --template-file ./main.bicep \
  -p containerImage=blogsample.azurecr.io/api:0.0.1 \
     containerPort=5000 \
     registry=blogsample.azurecr.io \
     registryUsername=$acrUser
     registryPassword=$acrPassword
Azure CLI will take the Bicep module, and create a corresponding deployment in the resource group we’ve provisioned before.After a couple of seconds, you should see the command succeeding. To verify everything worked as expected, you can grab the full qualified domain name from the corresponding output and issue a curl request to an exposed API endpoint:
# query fqdn
fqdn=$(az deployment group show -g rg-blog-sample --query properties.outputs.fqdn.value \
  -n container-app -o tsv)

# test a public API endpoint
curl --silent https://$fqdn/weatherforecast | jq
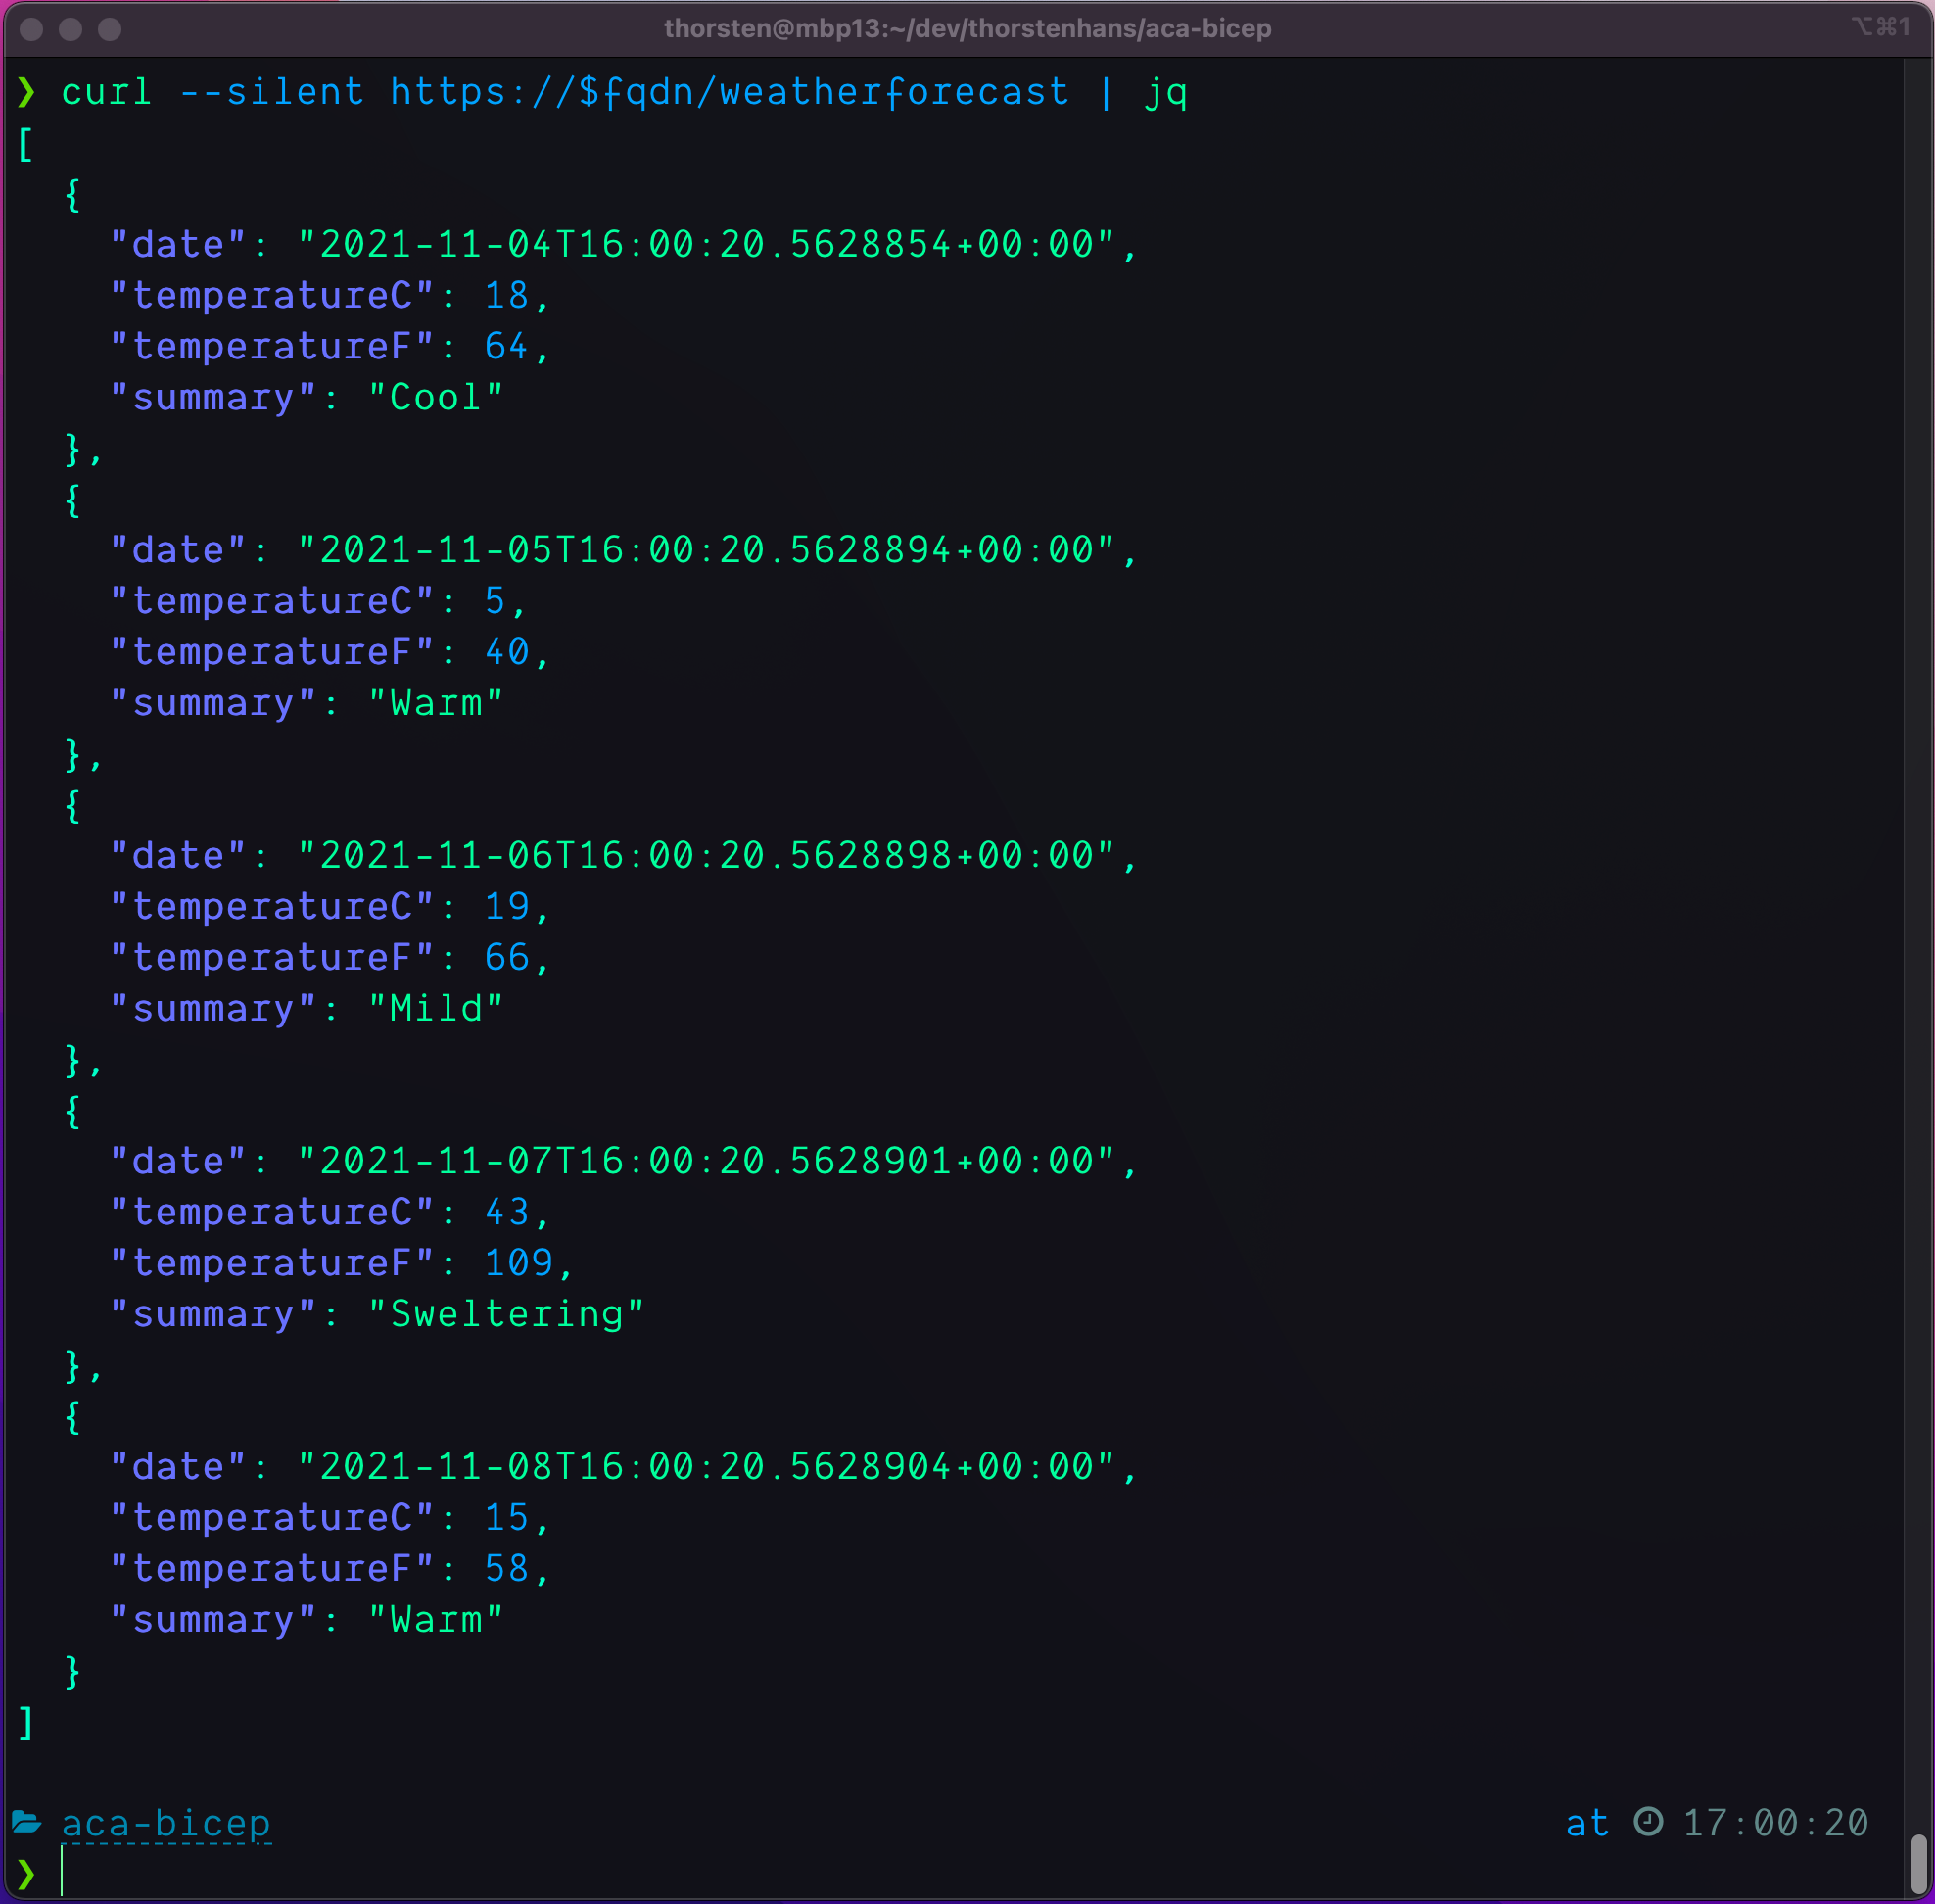
ASP.NET Core Weatherforecast running in Azure Container Apps
Conclusion🔗
With Bicep, we can quickly deploy different Azure architectures, and shiny new Azure Container Apps are no exception here. Azure Container Apps and related resources are exposed via Azure ARM Api. Which means we can use tools like Bicep to provision, mutate, and destroy Azure Container Apps with ease.
When you paid close attention, you may have recognized that the resource type for the Azure Container App environment is ...kubeEnvironments.... Again, a good indicator that we are using Kubernetes under the covers. However, I could imagine that it would be changed before going to GA.
I checked Terraform’s AzureRM provider before I jumped into Bicep to provision my Azure Container App. However, the current release has no support for Azure Container App yet. In the past, AzureRM provider adopted new API capabilities quickly, so I hope to see support for Azure Container Apps in Terraform soon.
All code shown in this article, is here -> https://github.com/ThorstenHans/azure-container-apps-bicep
Before publishing this article, I saw Jeff’s tweet about a sample repository that shows how to deploy Azure Container Apps using Bicep. In contrast to this article, he has also added a GitHub workflow. So you should check this one out too.
If you're interested to see what a container apps solution looks like, a great place to start is this @Azure sample. Includes @AzureCosmosDB, @AzureApiMgmt, Container Apps, @daprdev with GitHub Actions and @BicepLang https://t.co/sJxRKq1kfO
— Jeff Hollan (@jeffhollan) November 2, 2021
// 🙏 @paulyuki99 who helped create